Text can be added and edited from our advanced editor and is perfect for adding additional details to your project such as a call to action, a caption, or supplemental details about your content.
Note: Audio cannot be automatically turned into text via our text track. If you would like to do that, please consult this guide on audio transcription.
Adding Text To Your Project:
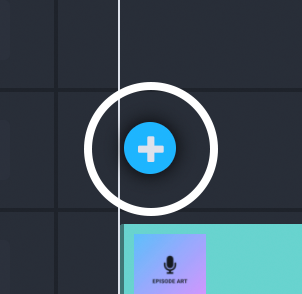
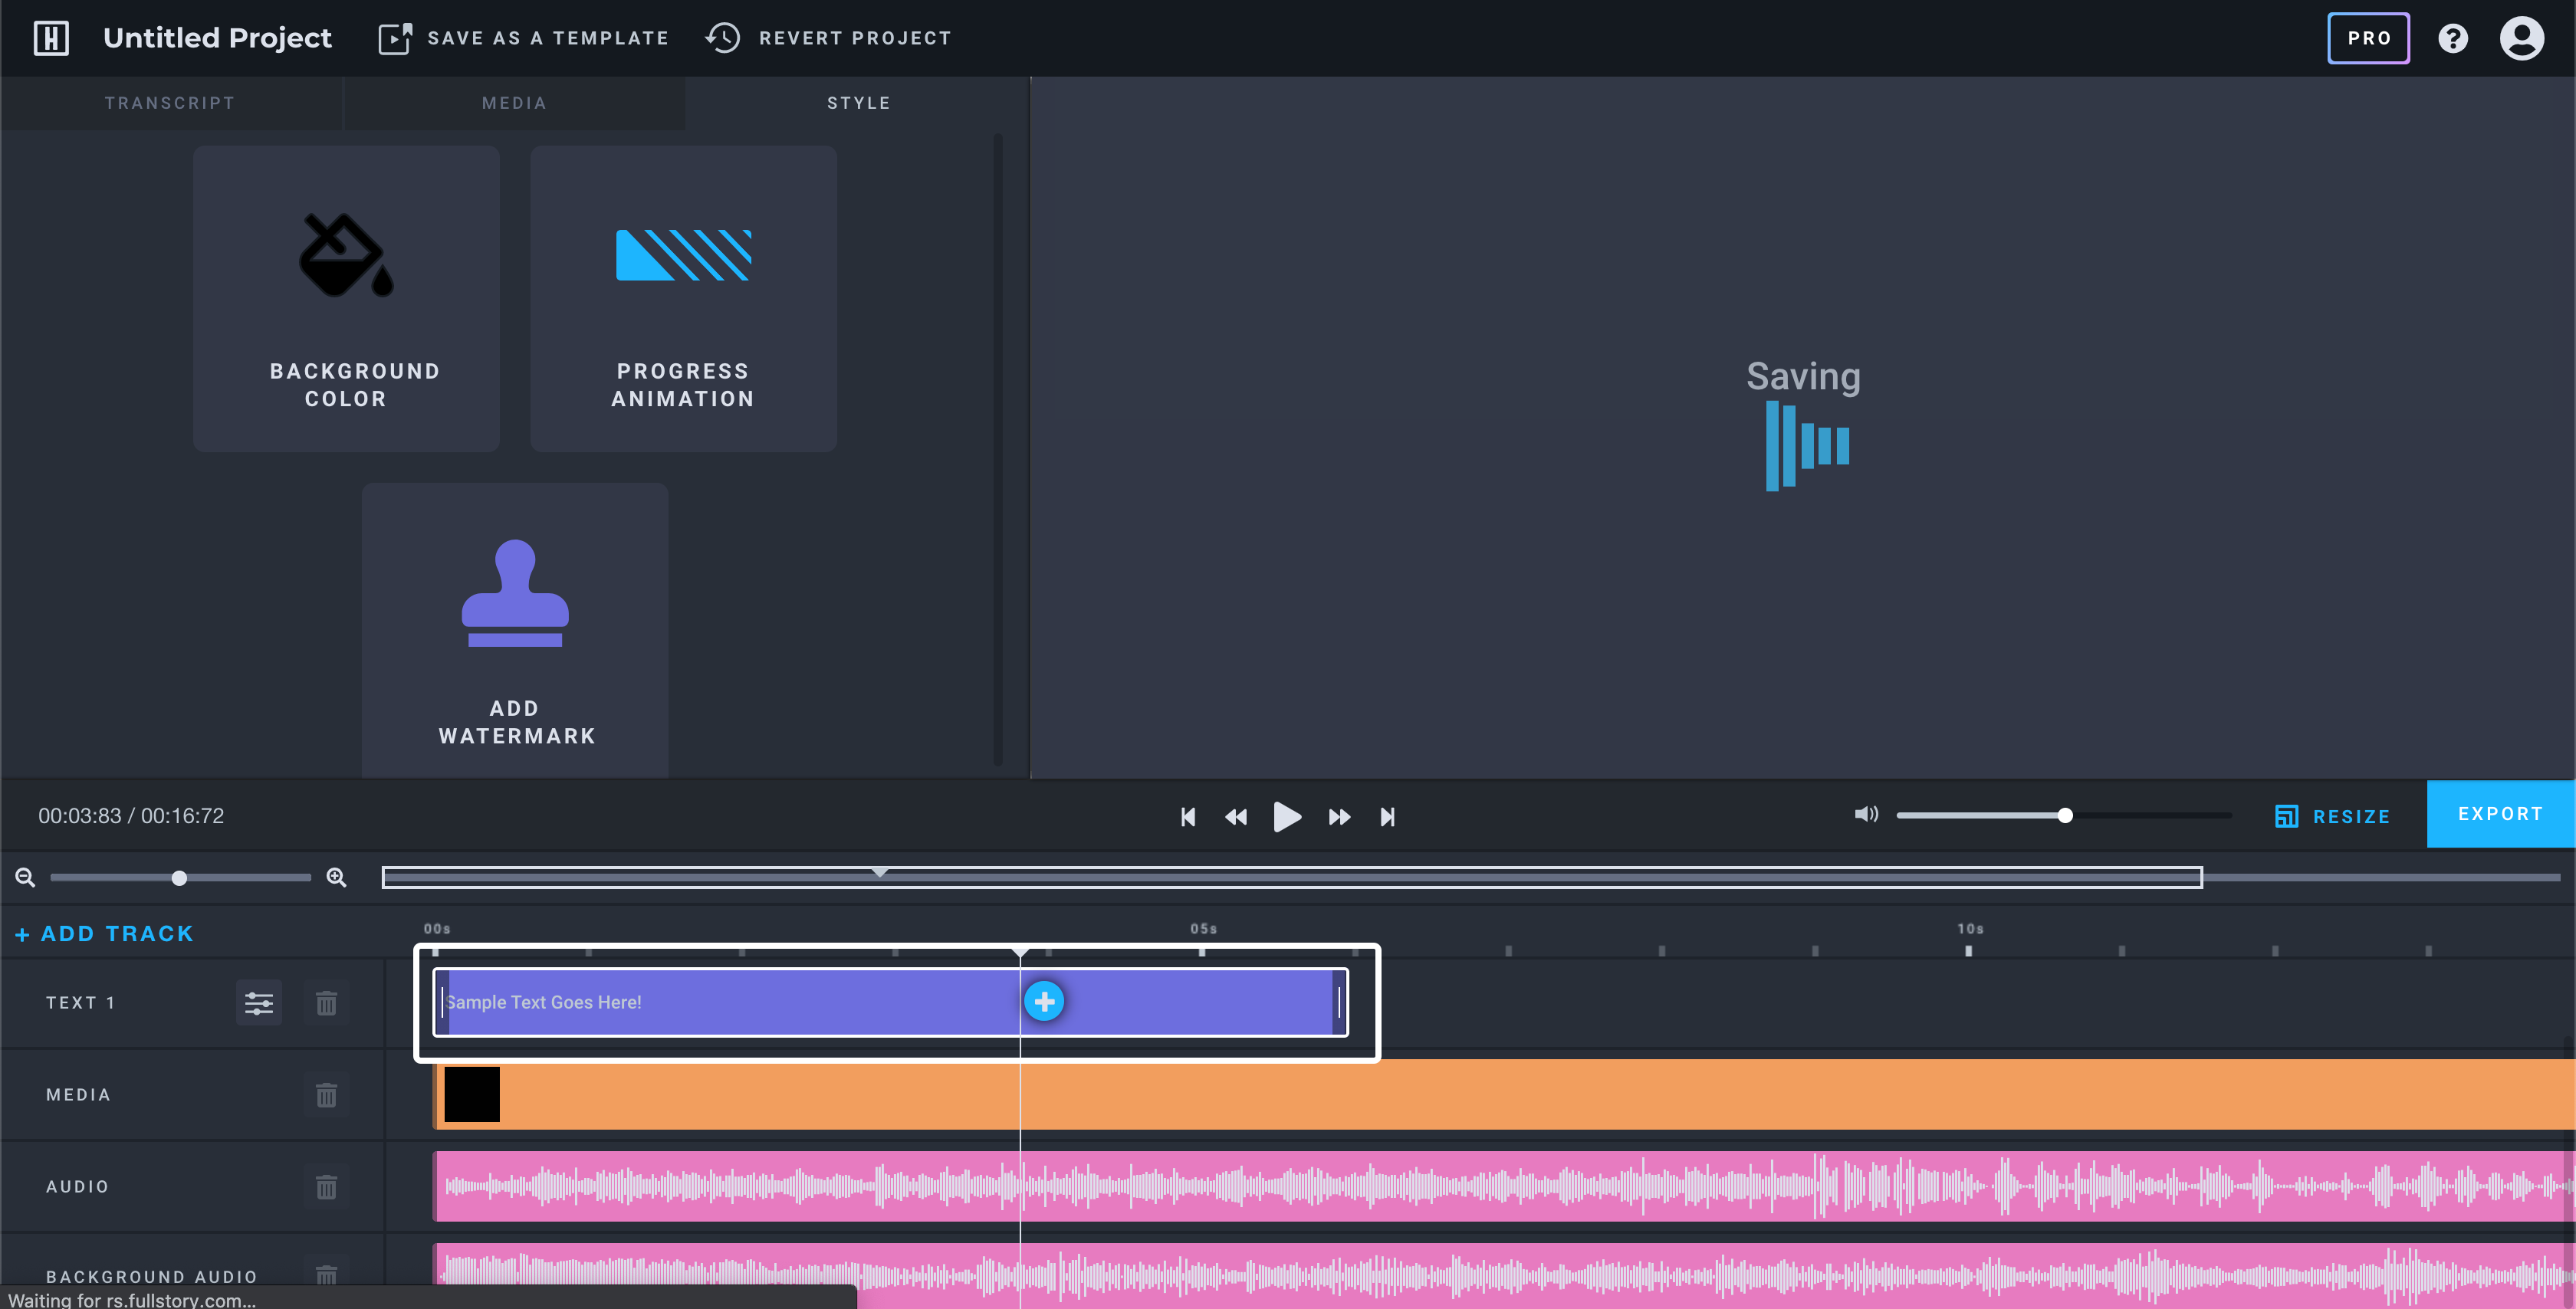
Adding text to your project via the advanced editor can be done by hovering your mouse over the text track for your project and by clicking on the blue plus button that will appear on that track.
Note: Adding text to your project will automatically place it at the location of your playhead. If you would like to place text at a specific point in your video, you’ll need to click or drag your playhead to that point in the project before adding your text or adjust your text placement after it’s been added to your project.
Next, add the text that you’d like to have placed on your project into the text properties screen and customize it using the available controls. Once you’ve set your text up to your liking, click add to video.
Editing Text On Your Project:
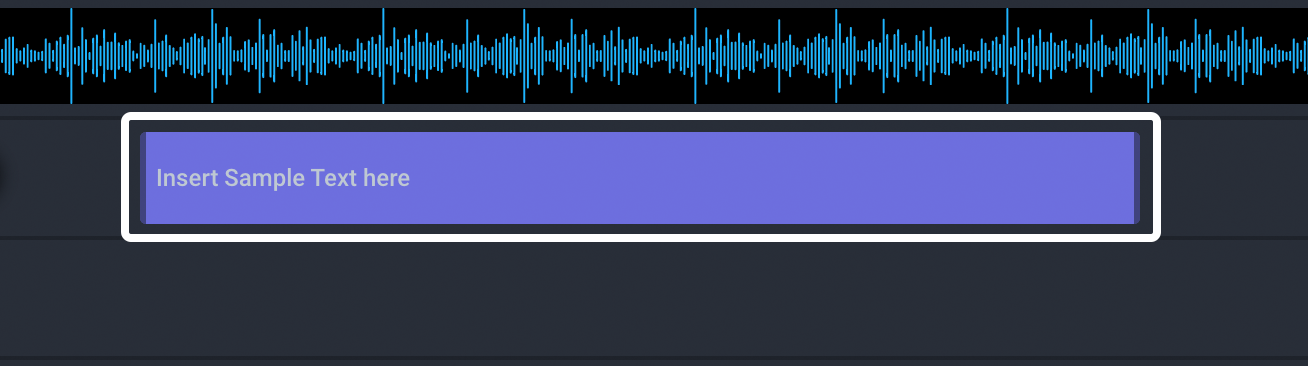
To edit the contents of your text box from the timeline, you’ll need to hover your mouse over the specific text box that you’d like to edit and then click on it to re-open the text properties window.
From there, you’ll be able to update/edit your text as needed, before confirming your changes by hitting the save button.

Moving Text/Changing Text Duration:
Text duration and placement on your project can be edited from the bottom of your timeline. To edit your text duration, click on the ends of your text box and drag it in/out.
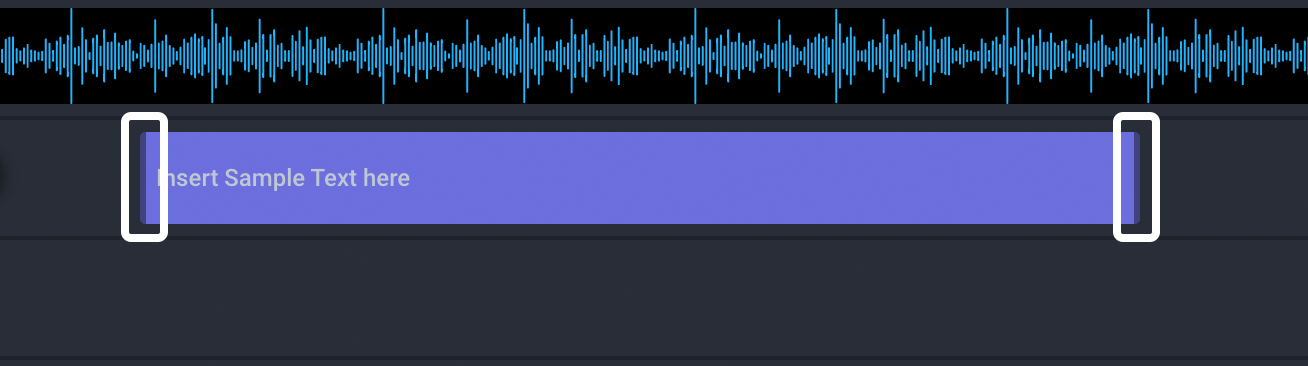
To change the placement of your text on your timeline, click on the text back and drag it to the location you would like it to begin at.